
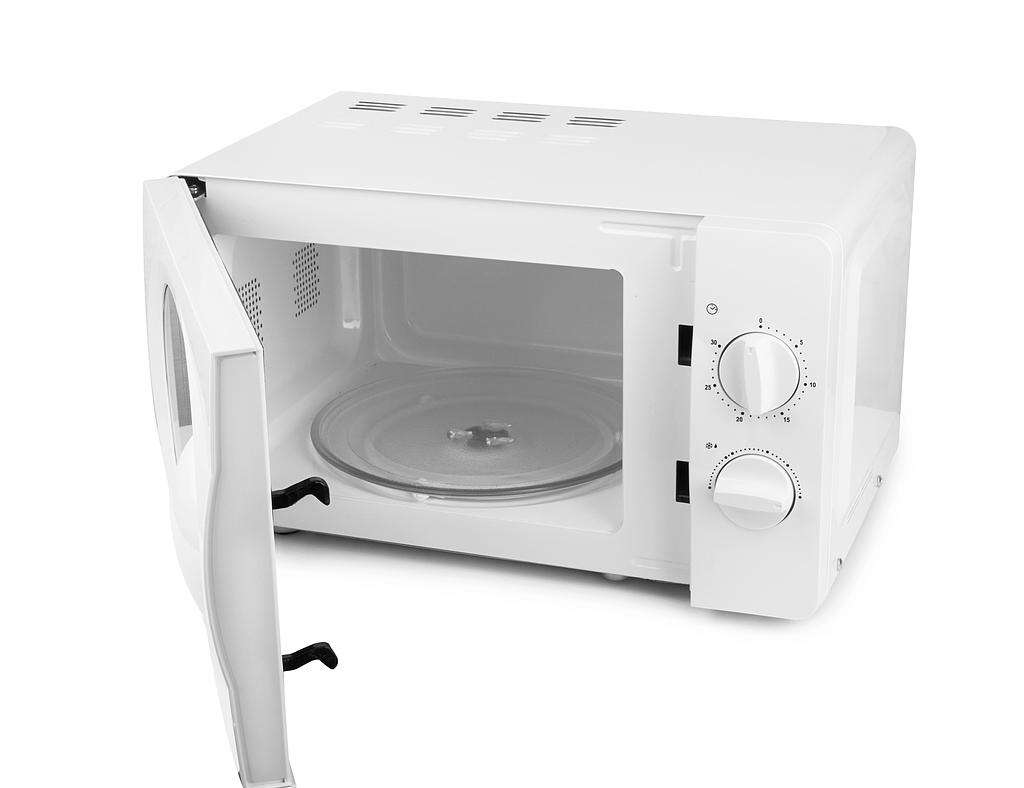
In the dynamic landscape of appliance repair, speed and economy are critical. One of the most frequent repairs made at repair shops is replacing microwave handles. This wireless microwave repair guide equips repair shop owners and technicians with essential skills to perform complete microwave handle replacement.
Microwave handles are subjected to damage as a result of regular usage. It is common for them to break entirely or become loose which enhances the risk of microwave failure. From the standpoint of microwave repair shops, having a clear defined method microwave handle replacement could translate into great savings. This guide will provide the required equipment as well as the guides for accomplishing a successful repair.
Requirements to Complete the Handle Replacement
Before proceeding to explaining the handle replacement steps, it is important to list the required equipment. A standard toolkit used for microwave repairs includes a set of screwdrivers, pliers, a replacement handle, and in case of some models, a drill. As long as these tools are readily available during repairs, the minimal microwave downtime will be highly achievable.
Step-by-Step Instructions
-
Assess the Damage: Before starting with the replacement, take a look at the microwave to see how badly it is damaged. Is the handle broken, or is it hanging loosely? This evaluation will help you determine how to formulate the steps needed for the repair.
-
Remove The Old Handle: Take a screwdriver and remove the bolts that have the handle attached. You will need these screws for the new handle, so make sure you put them in a safe place. If the handle is glued, use pliers to gently pull the glued handle off.
-
Install The New Handle: Place the new handle on both mounting holes and tighten it with screws that you undid previously. The screws must be to fastening level, this ensures the handle stays in place.
-
Test The Handle: Check if the handle works according to the required standards. This as per microwave usability standards is a necessity for customer happiness as the handle is imperative for ease of usage.
-
Cleanup: Throw away any outdated parts along with cleaning the workstation. The workspace has to look organized at all times, not just from professionalism and safety standards, but actively assists in upholding safety and health measures in the repair shop.
Tips for Successful Repairs
-
Stock Replacement Parts: Ensure you have microwave handles which fit most brands and models. Having these readily available can cut down repair time considerably.
-
Customer Communication: Strive for precision when explaining the repair to the client. Make sure your customer knows how much they will spend and how much time it will take. This often leads to further business.
-
Training Staff: Encourage staying on top of industry developments as well as new models of microwaves. This will help provide better services and more efficient operations at the shop.
Industry Trends
With the continued increase of appliances such as microwaves, the need for handy microwave repair services is on the rise. Those who offer quick fixes for issues such as replacing microwave handles will outdo their competition. Also, with the growing do-it-yourself culture, there is plenty of space for shops to market themselves by providing instructional content or workshops. Doing this alongside other aggressive market strategies will sure enhance client satisfaction and loyalty while improving service.
To summarize, knowing how to do a DIY microwave handle replacement is a useful skill for repair shops. Following the provided instructions and advice, technicians can perform high-standard repairs that guarantee customer satisfaction therefore boosting business success.