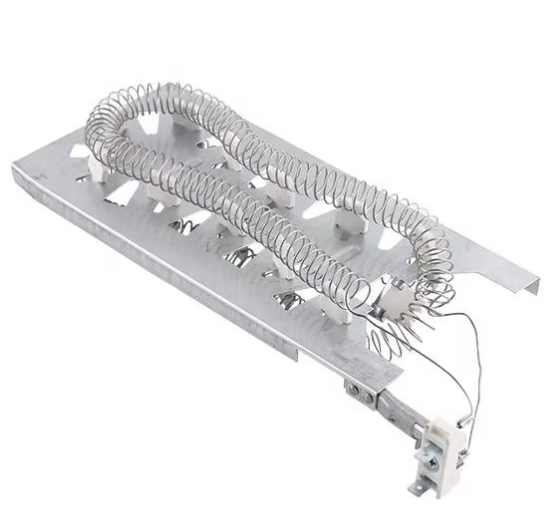
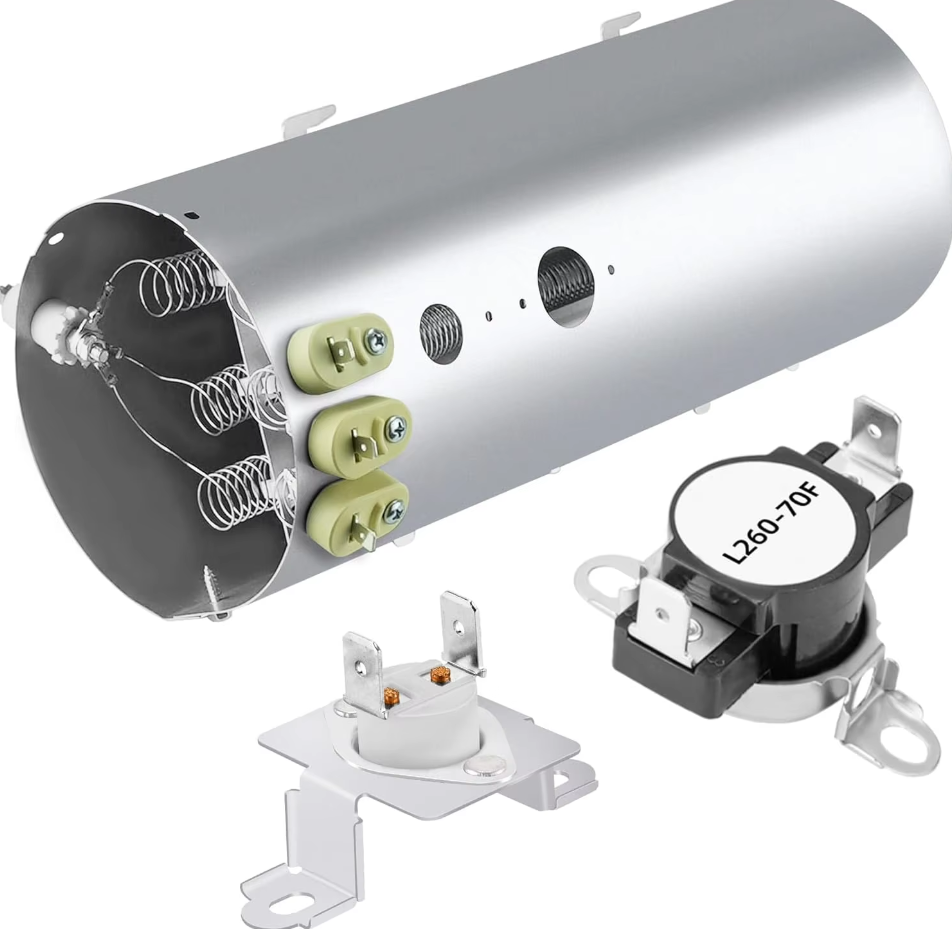
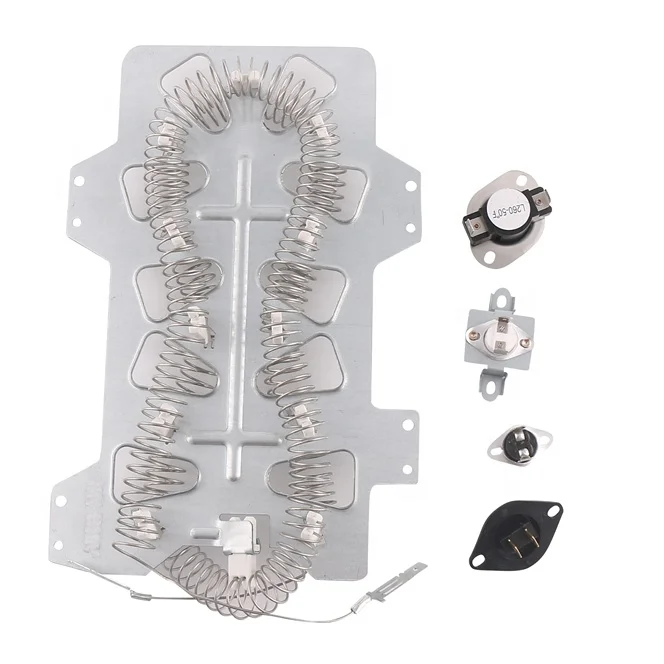
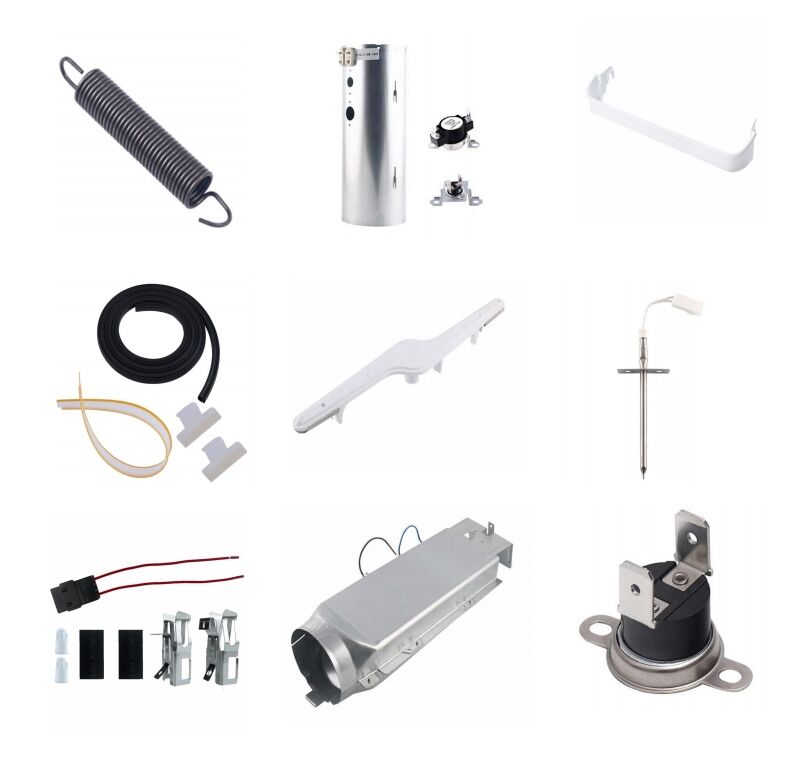
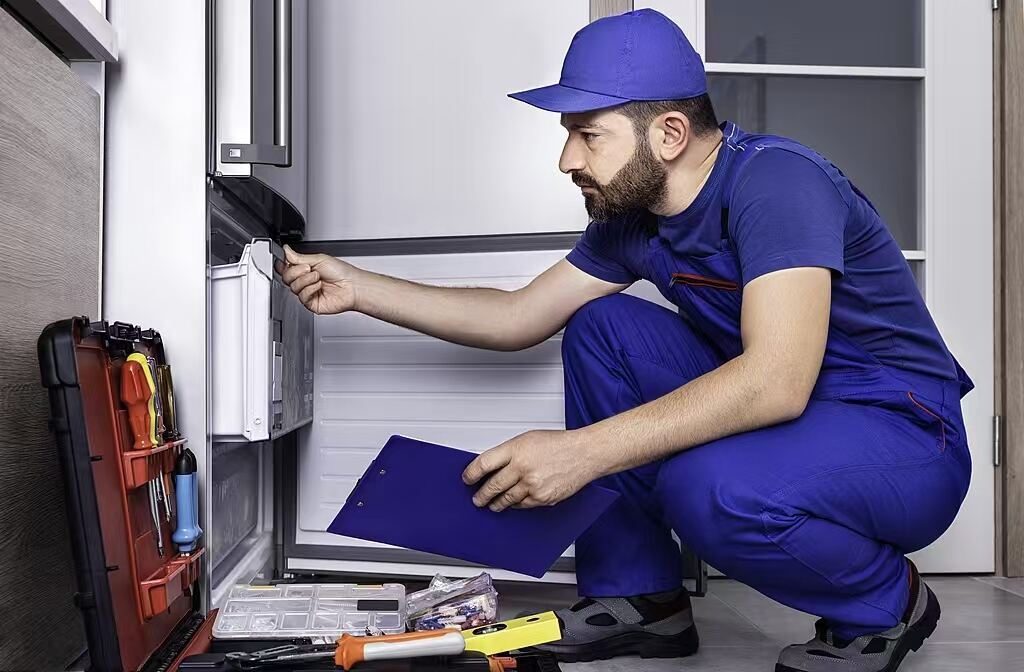
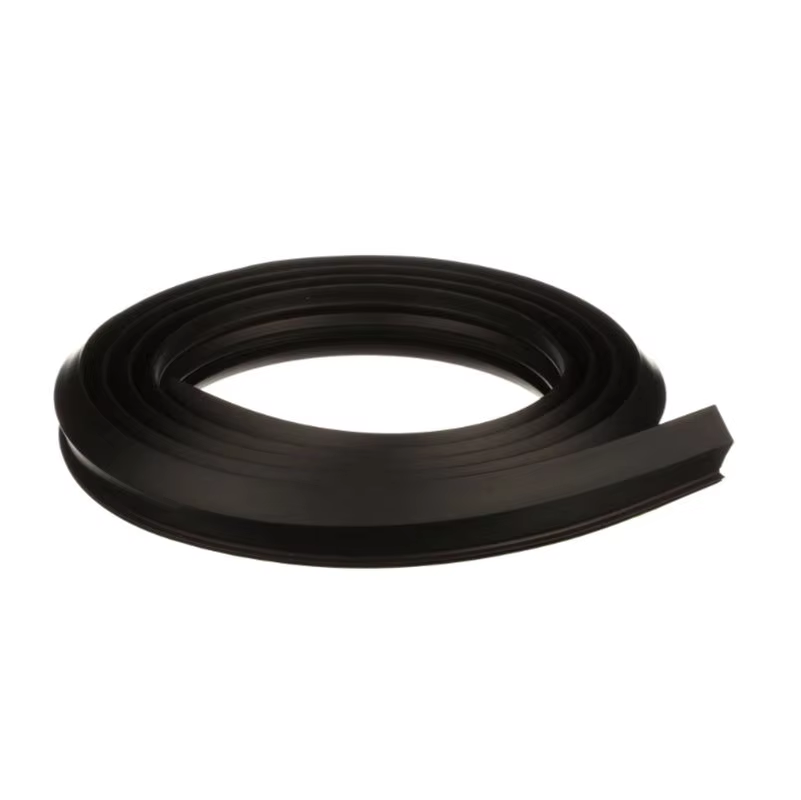
Dryer heating element replacement is a systematic process that balances safety, precision, and compatibility, critical for restoring dryer functionality while avoiding electrical or fire hazards. The process begins with preparatory steps to ensure user safety: disconnecting the dryer from the power source (unplugging it or turning off the circuit breaker) and, for gas dryers, shutting off the gas supply (though gas dryers use burners instead of electric heating elements, the safety principle of power disconnection applies to all models). Next, users must access the heating element, which is typically located behind the dryer’s back panel (for most top-load and front-load models) or inside the front drum housing (for some compact models). Removing the access panel requires basic tools—usually a Phillips-head or flathead screwdriver—and care to avoid damaging internal components. Once accessible, the old element is disconnected by removing the wiring harness (it is recommended to take photos of the wiring configuration first to avoid misconnection) and unscrewing the mounting brackets. Before installing the new element, a visual inspection of the surrounding components (such as thermal fuses, thermostats, and vent ducts) is essential to identify any secondary issues (e.g., lint buildup, damaged wires) that may have caused the original element to fail. The new element must be identical in wattage, mounting design, and wiring configuration to the original; inserting the new element involves reversing the removal steps—securing it with mounting screws, reconnecting the wiring harness per the photos, and reattaching the access panel. Post-installation, a test cycle is critical: running the dryer on a high-heat setting for 10–15 minutes to verify heat production, ensuring no unusual noises or odors, and confirming the thermal protection mechanisms function correctly. For users uncomfortable with electrical work, professional installation is recommended, but the process is standardized across global dryer models, making it accessible to DIY enthusiasts with basic tools. Following manufacturer guidelines and local electrical codes—such as using insulated tools and avoiding loose wiring—ensures the replacement is safe and compliant, regardless of cultural or regional differences in dryer design.

Jointgo is a leading home appliance parts factory with over 20 years of production experience. We specialize in manufacturing dryer parts, washing machine parts, kitchen appliance parts, etc. Factory direct sale, wholesale price, fast shipment. Our products are compatible with major brands like Whirlpool, LG, and Samsung. Customization services are available. Trust us for all your home appliance parts needs.
Copyright © 2025 by Ningbo Jointgo Electronics Co., Ltd. Privacy Policy


![High-Quality Dryer Heating Elements for OEM & Repair [UL Certified]](https://shopcdnpro.grainajz.com/category/87466/2844/7dadcdd0e851a3d4f7836203934c64e8/444.png)