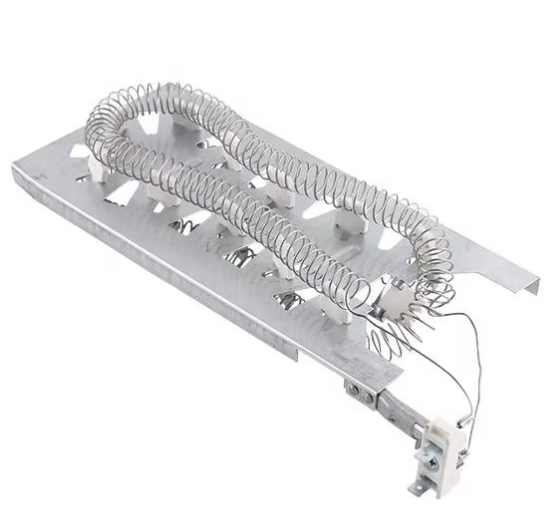
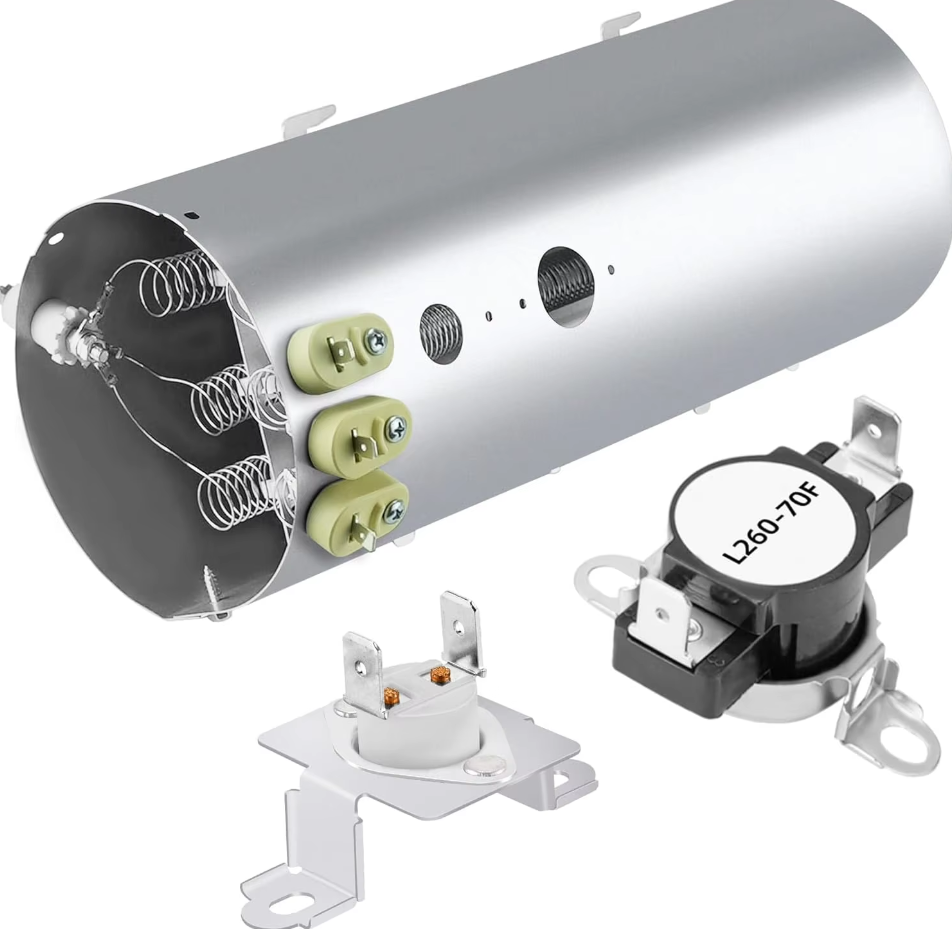
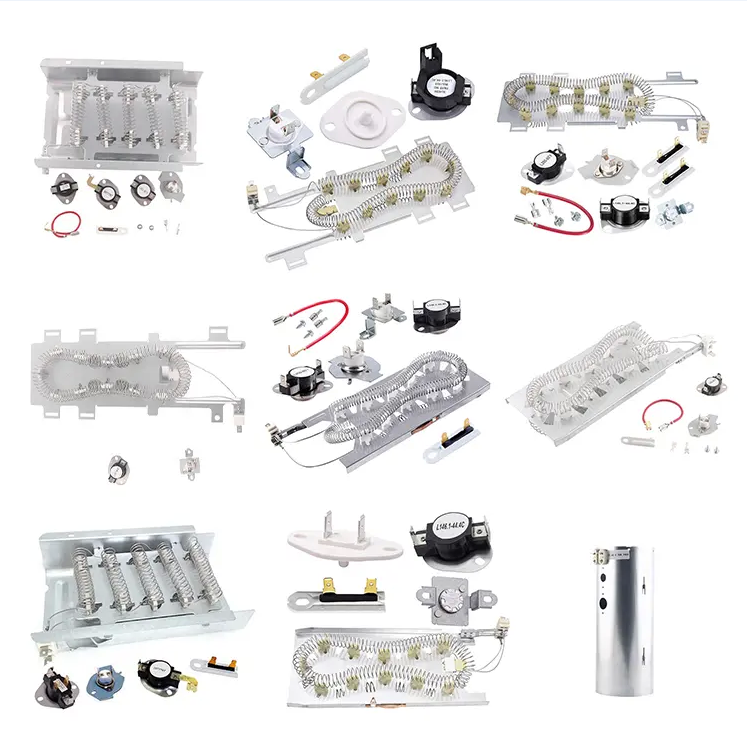
Replacing the heating element in a General Electric (GE) dryer involves several key steps to restore the appliance’s drying functionality. Begin with safety: unplug the dryer from the electrical outlet and, if applicable, turn off the circuit breaker dedicated to the dryer to eliminate any power flow. For most GE dryer models, the heating element is accessible by removing the back panel; use a screwdriver to loosen and remove the panel screws, then set the panel aside. Inside, you’ll find the heating element assembly, which is typically a rectangular or cylindrical unit attached to the dryer’s air duct. The element is connected to two or more wires and held in place by screws or retaining clips. Before disconnecting anything, document the wire configuration—this prevents errors when installing the new element. Disconnect the wires from the element’s terminals (take care not to bend or break the terminal prongs) and remove the fasteners holding the element in the assembly. Extract the old element and inspect it: a faulty element will often have visible damage, such as a broken coil or burnt insulation. When purchasing a replacement, use the dryer’s model number (found on a label inside the door or on the back of the unit) to select the correct GE heating element—using an incompatible part can lead to inefficient heating or electrical issues. Install the new element by securing it in the assembly, reconnecting the wires to the proper terminals, and reattaching the back panel. Restore power to the dryer and run a test cycle on the highest heat setting. Check that the dryer produces heat consistently and that there are no unusual sounds or smells, which would indicate a problem with the installation.

Jointgo is a leading home appliance parts factory with over 20 years of production experience. We specialize in manufacturing dryer parts, washing machine parts, kitchen appliance parts, etc. Factory direct sale, wholesale price, fast shipment. Our products are compatible with major brands like Whirlpool, LG, and Samsung. Customization services are available. Trust us for all your home appliance parts needs.
Copyright © 2025 by Ningbo Jointgo Electronics Co., Ltd. Privacy Policy


![High-Quality Dryer Heating Elements for OEM & Repair [UL Certified]](https://shopcdnpro.grainajz.com/category/87466/2844/7dadcdd0e851a3d4f7836203934c64e8/444.png)